


Soft and fluffy Greek yogurt buns, perfect for sandwiches or as a side dish. Easy to make and versatile for sweet or savory meals!
There’s something undeniably satisfying about baking your own bread. The warm aroma, the golden crust, and the soft, pillowy interior—it’s a combination that brings comfort and joy. These Greek Yogurt Buns deliver all of that and more. Specifically crafted to be the perfect sandwich buns, they’re soft, slightly tangy, and versatile enough to complement any filling you can imagine.
Whether you’re making a gourmet sandwich, indulging in a sweet treat, or pairing them with soups and stews, these buns are bound to become your go-to recipe.

Why You’ll Love These Buns
- Perfect for Sandwiches: Soft, fluffy, and just sturdy enough to hold all your favorite fillings without falling apart.
- Versatile: While designed for sandwiches, they pair beautifully with sweet or savory toppings.
- Easy to Make: With simple ingredients and straightforward steps, you’ll have bakery-quality buns from your own kitchen.
- Moist and Flavorful: The Greek yogurt adds moisture and a subtle tang that elevates the flavor beyond ordinary bread rolls.
The Secret Ingredient: Greek Yogurt
The magic of these buns lies in the Greek yogurt. It’s not just there for flavor—it’s the secret to their soft and tender texture. Greek yogurt locks in moisture, ensuring the buns stay fresh longer, and it adds a mild tang that complements both savory and sweet applications. It’s this ingredient that takes these buns from good to truly exceptional.
Fun Fact: Greek yogurt is a staple in Mediterranean cuisine and was traditionally strained through cloth to achieve its signature thick texture and high protein content!for baking but also adds protein to your dough, which enhances the structure of your buns. This is why they stay soft yet hold their shape perfectly!
A Canvas for Creativity
These buns are all about possibilities. While they’re amazing straight out of the oven, their true potential shines when you use them as sandwich buns. One of my favorite combinations includes:
- Cooked ham for a savory, meaty base.
- Creamy scrambled eggs for a rich, fluffy layer.
- Arugula (rocket) for a peppery bite of freshness.
- Cheese for indulgent gooeyness.
- Pickled red onions for a tangy, crunchy contrast.
Pro Tip: When building your sandwich, start with your sauces or spreads directly on the bun to enhance the flavors and keep everything moist!
This combination creates a sandwich that’s hearty, flavorful, and perfect for breakfast, lunch, or dinner.

Tips for Perfect Greek Yogurt Buns
- Measure Precisely: Use a kitchen scale for accurate measurements, especially for the flour and milk, to ensure proper dough hydration.
- Warm Proofing Spot: For the best rise, proof the dough in a warm (but not hot) environment, around 75–80°F (24–27°C).
- Soft or Crispy Crust: Cover the buns with a kitchen towel after baking for a soft crust, or leave them uncovered for a crispier finish.
- Freezer-Friendly: These buns freeze beautifully. Bake a double batch, freeze them, and reheat them in the oven when needed.
Did You Know? Slightly overproofed dough can result in flatter buns, while underproofed dough will produce denser ones. The perfect rise is key to getting that airy, soft texture!
The Baking Process
Baking these buns is a simple yet rewarding experience. From mixing the dough to shaping the buns and watching them rise in the oven, every step adds to the anticipation. The result? Soft, golden rolls that will elevate any meal.
Once baked, they’re ready to be used however you like. From sandwiches to sliders to sweet treats, the possibilities are endless.

Bake Your Own Magic
These Greek Yogurt Buns are more than just bread—they’re a staple for creating unforgettable meals. Whether you’re making a sandwich loaded with cooked ham, scrambled eggs, and pickled red onions or enjoying them with a simple spread of butter and jam, these buns are guaranteed to impress.
So roll up your sleeves, preheat your oven, and let your kitchen fill with the aroma of freshly baked bread. Trust me, once you taste these buns, you’ll wonder how you ever lived without them.
Join the Conversation: Have you tried these buns? Share your tips, ask questions, or tell us how you enjoyed them in the comments below. We’d love to hear your thoughts and ideas!
Ingredients
Servings10 buns
- 500 g all-purpose flour
- 200 g thick Greek yogurt
- 280 ml lukewarm milk
- 30 g unsalted butter softened at room temperature
- 1 tbsp sugar
- 7 g active dry yeast
- 2 ½ tsp salt
What will you need?
- Sharp knife or razor blade
Have you cooked this?
Mark as cooked!
1 users marked recipe as cooked
Prep time25 minutes
Cook time25 minutes
Cook time1 hour 45 minutes
Total time2 hours 35 minutes
Instructions
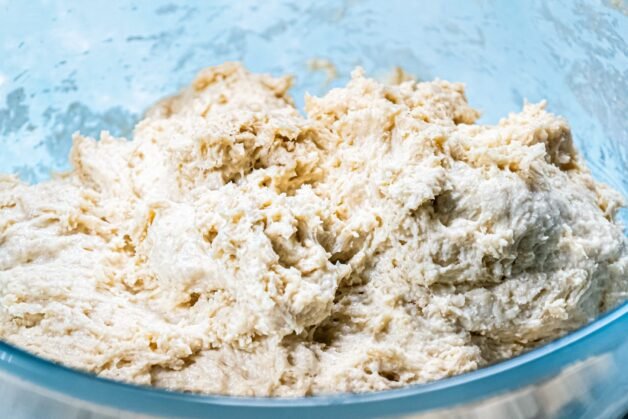
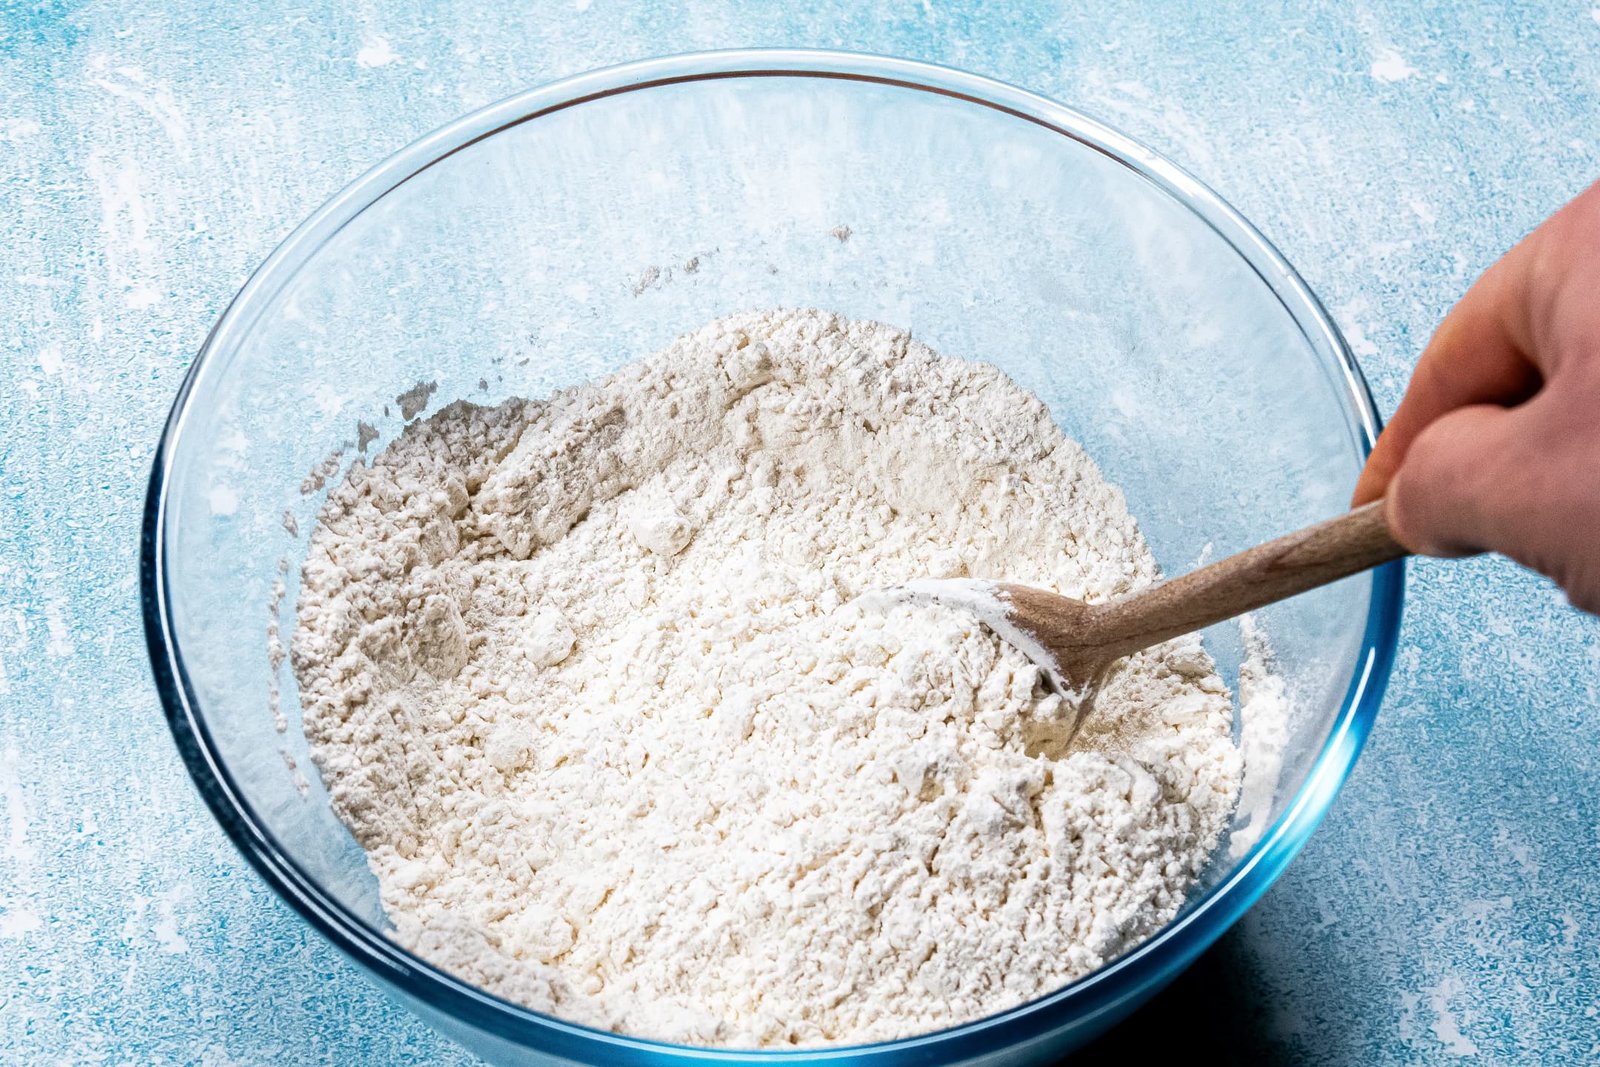
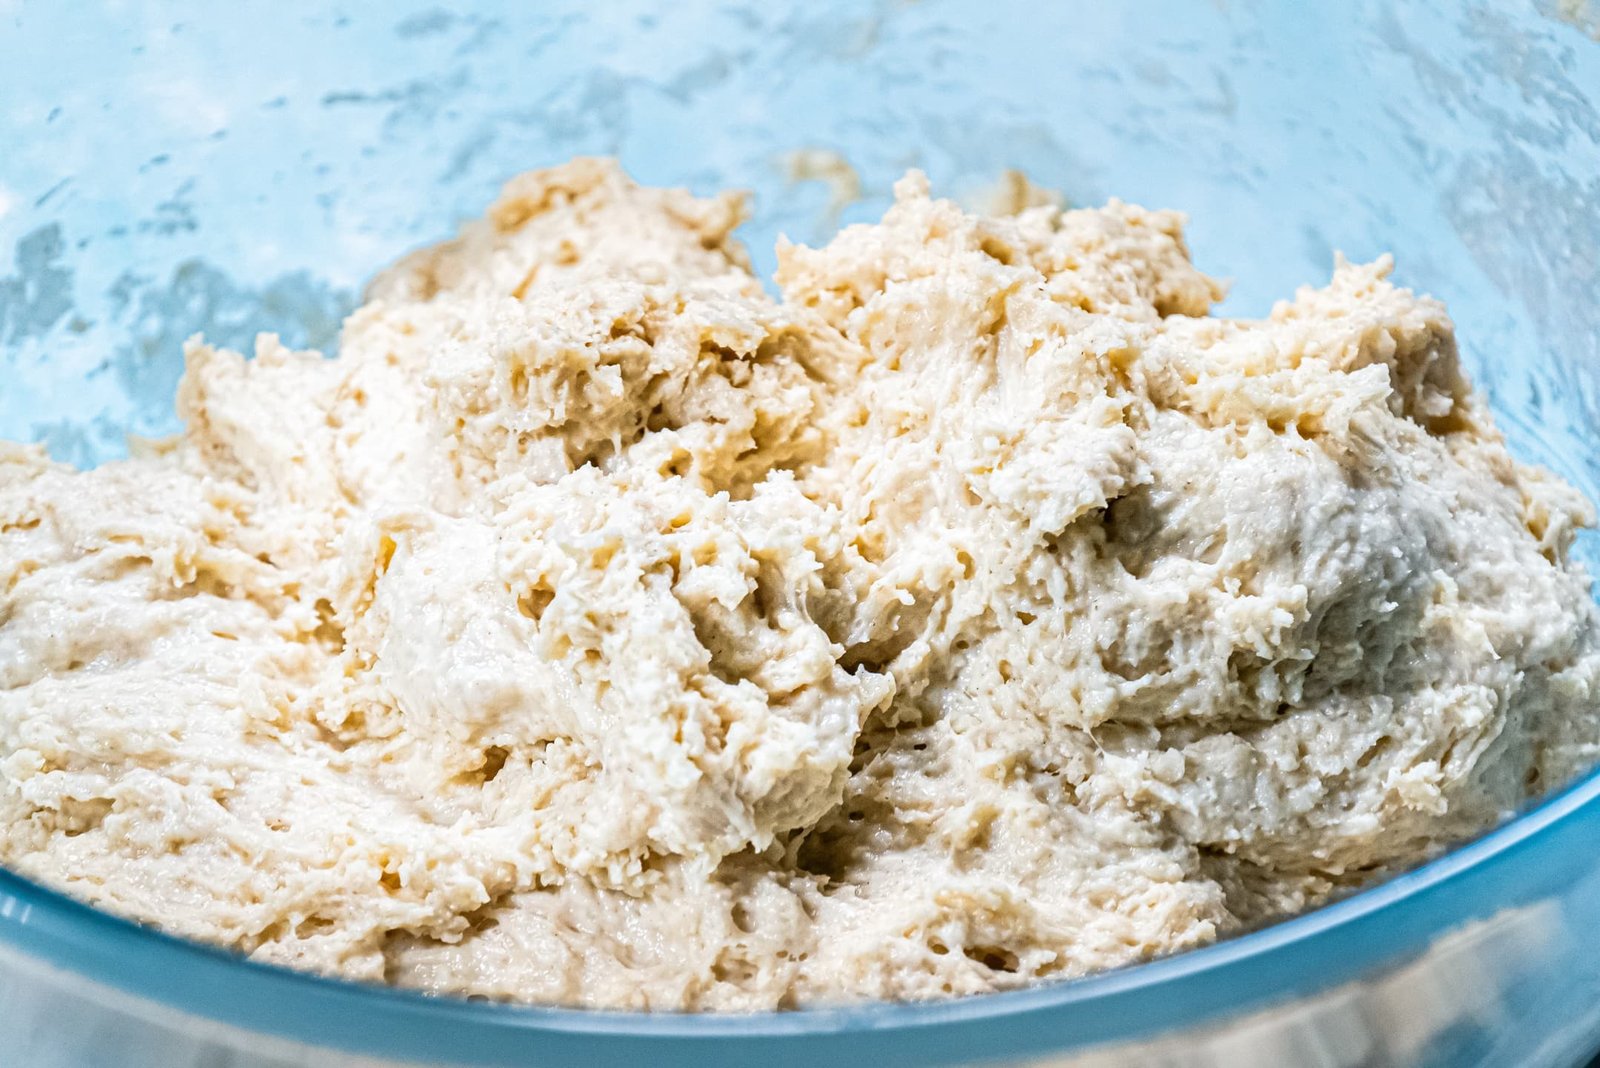
- In a large mixing bowl, whisk together the flour, yeast, salt, and sugar to evenly distribute the dry ingredients.

- Add the Greek yogurt, softened butter, and lukewarm milk to the bowl. Mix until the ingredients come together into a cohesive dough. No kneading is required at this stage—just ensure everything is well combined.
- Cover the bowl with a clean kitchen towel and let the dough rest at room temperature for 20 minutes.

- After the resting period, knead the dough by hand for 3-4 minutes until it becomes smooth and pliable.

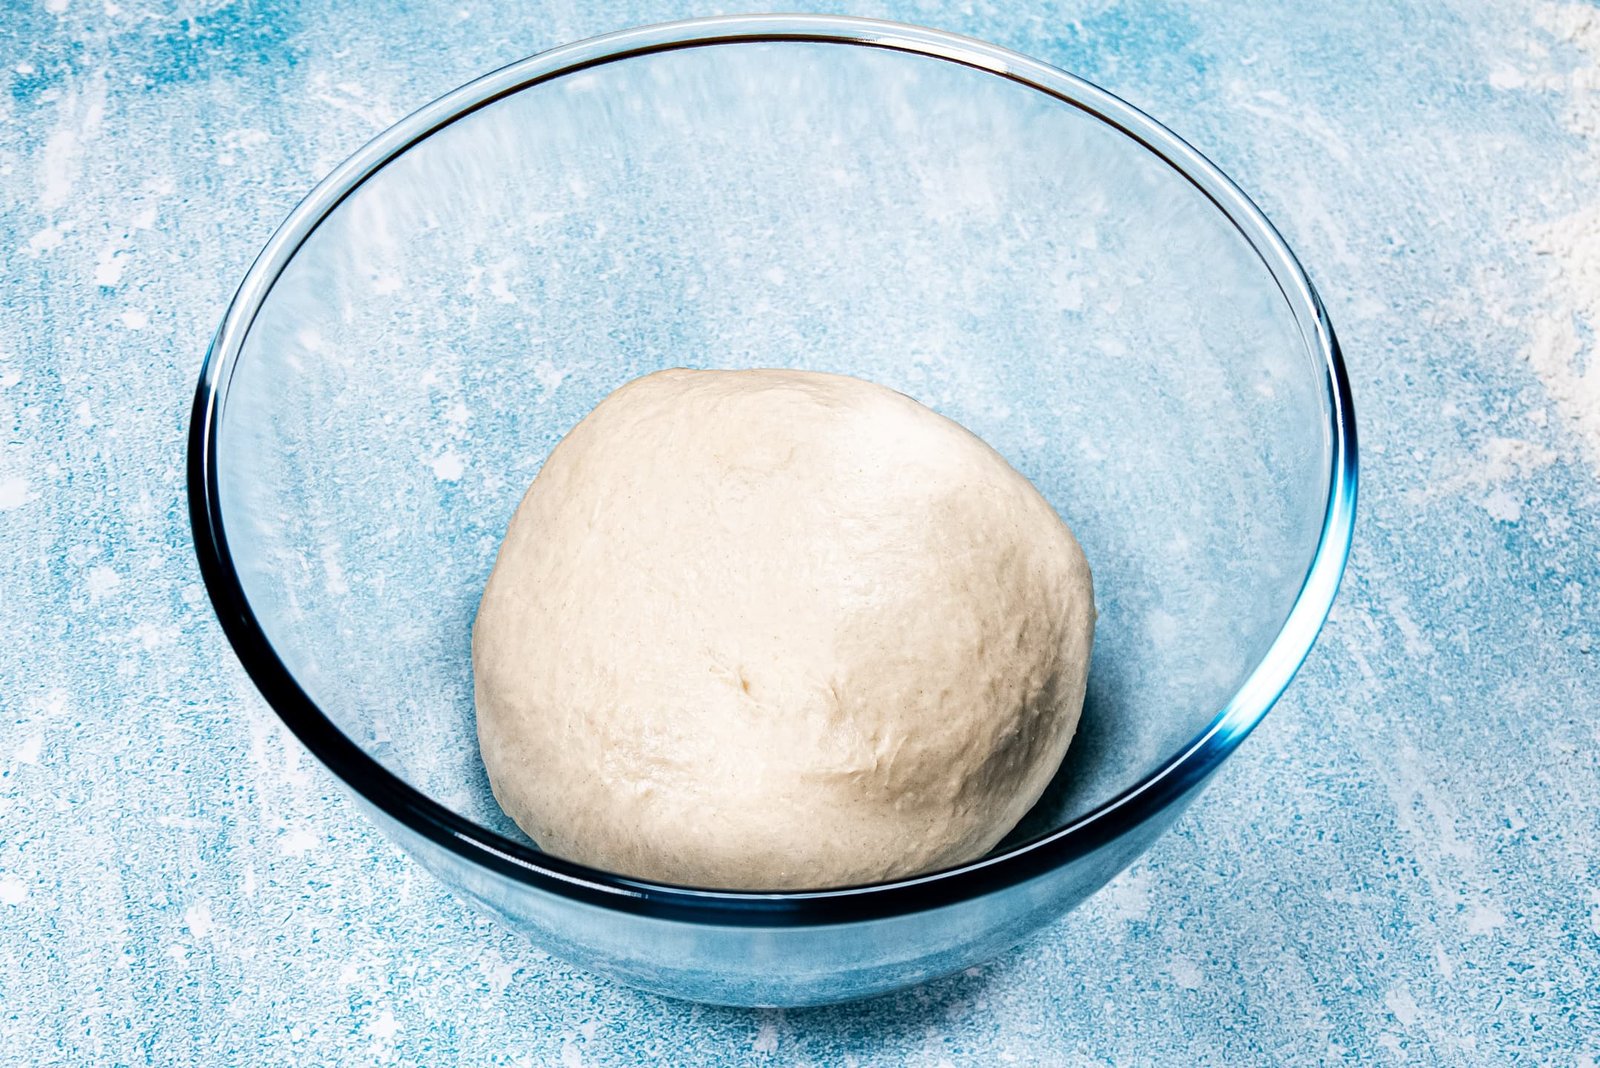
- Form the dough into a smooth ball. If desired, brush the surface with a thin layer of oil to prevent drying out.

- Place the dough ball in a clean bowl, cover it with a towel, and let it rise in a warm place for 45 minutes to 1 hour, or until it doubles in size.

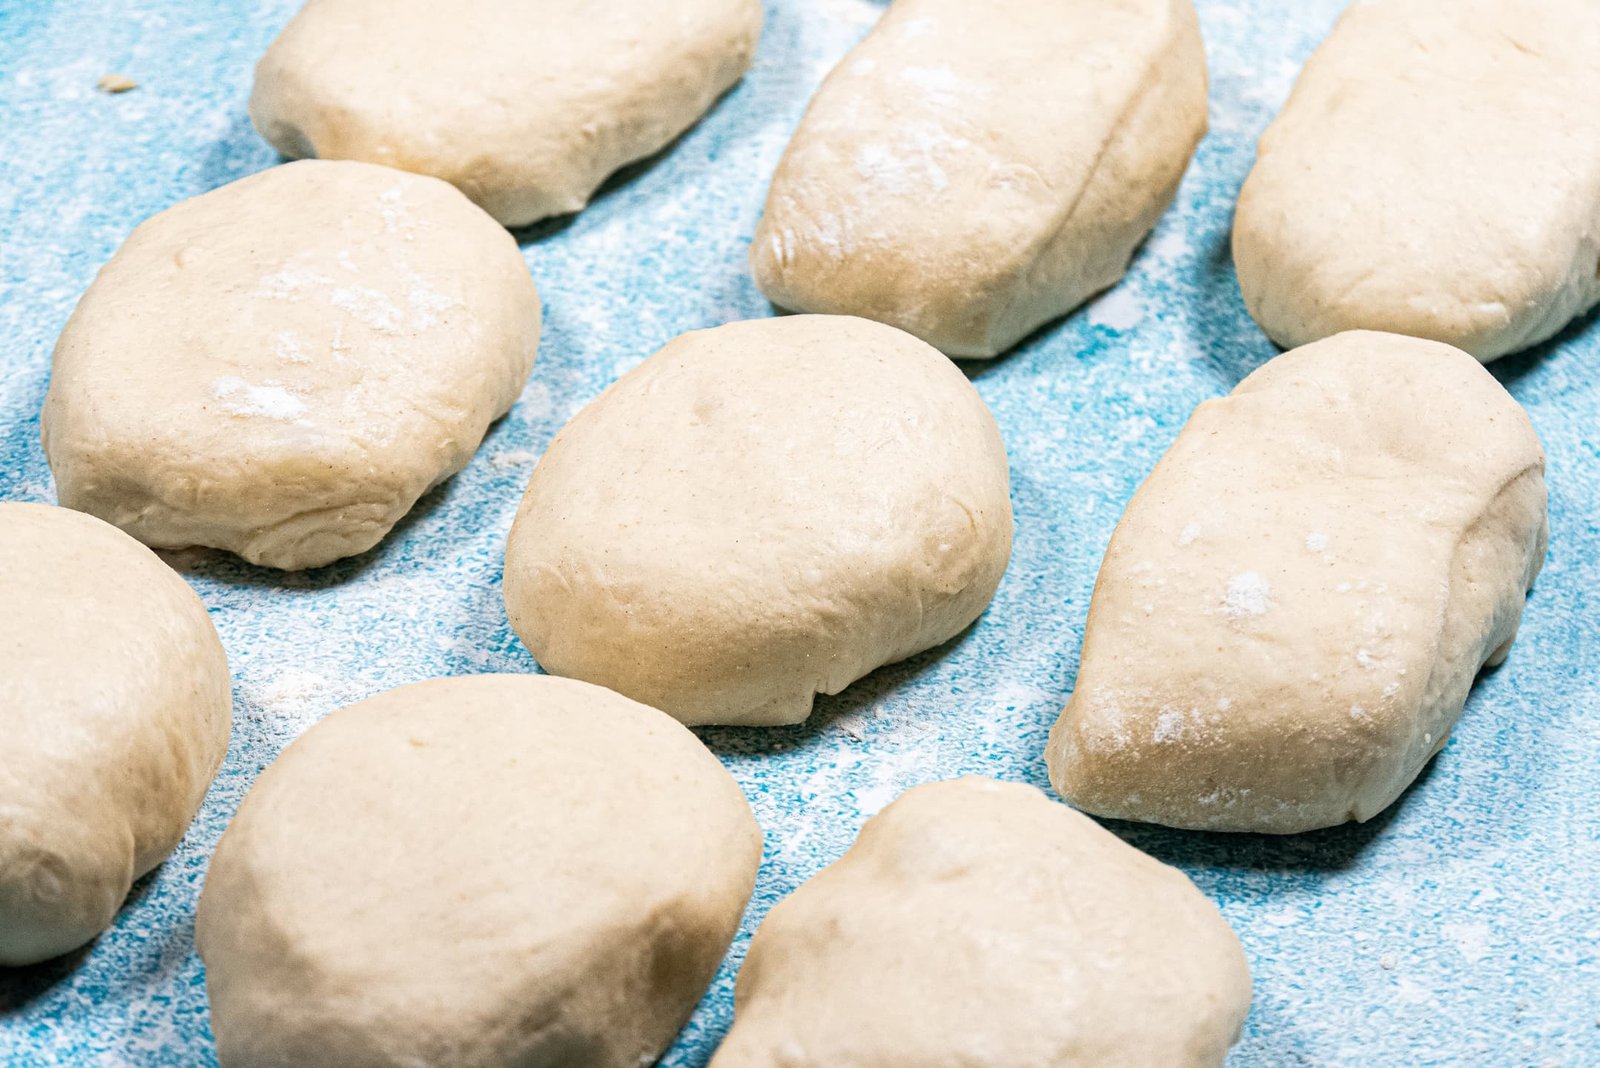
- Lightly flour your work surface and transfer the dough. Divide it into 10 equal portions, approximately 3 ounces (90 g) each.

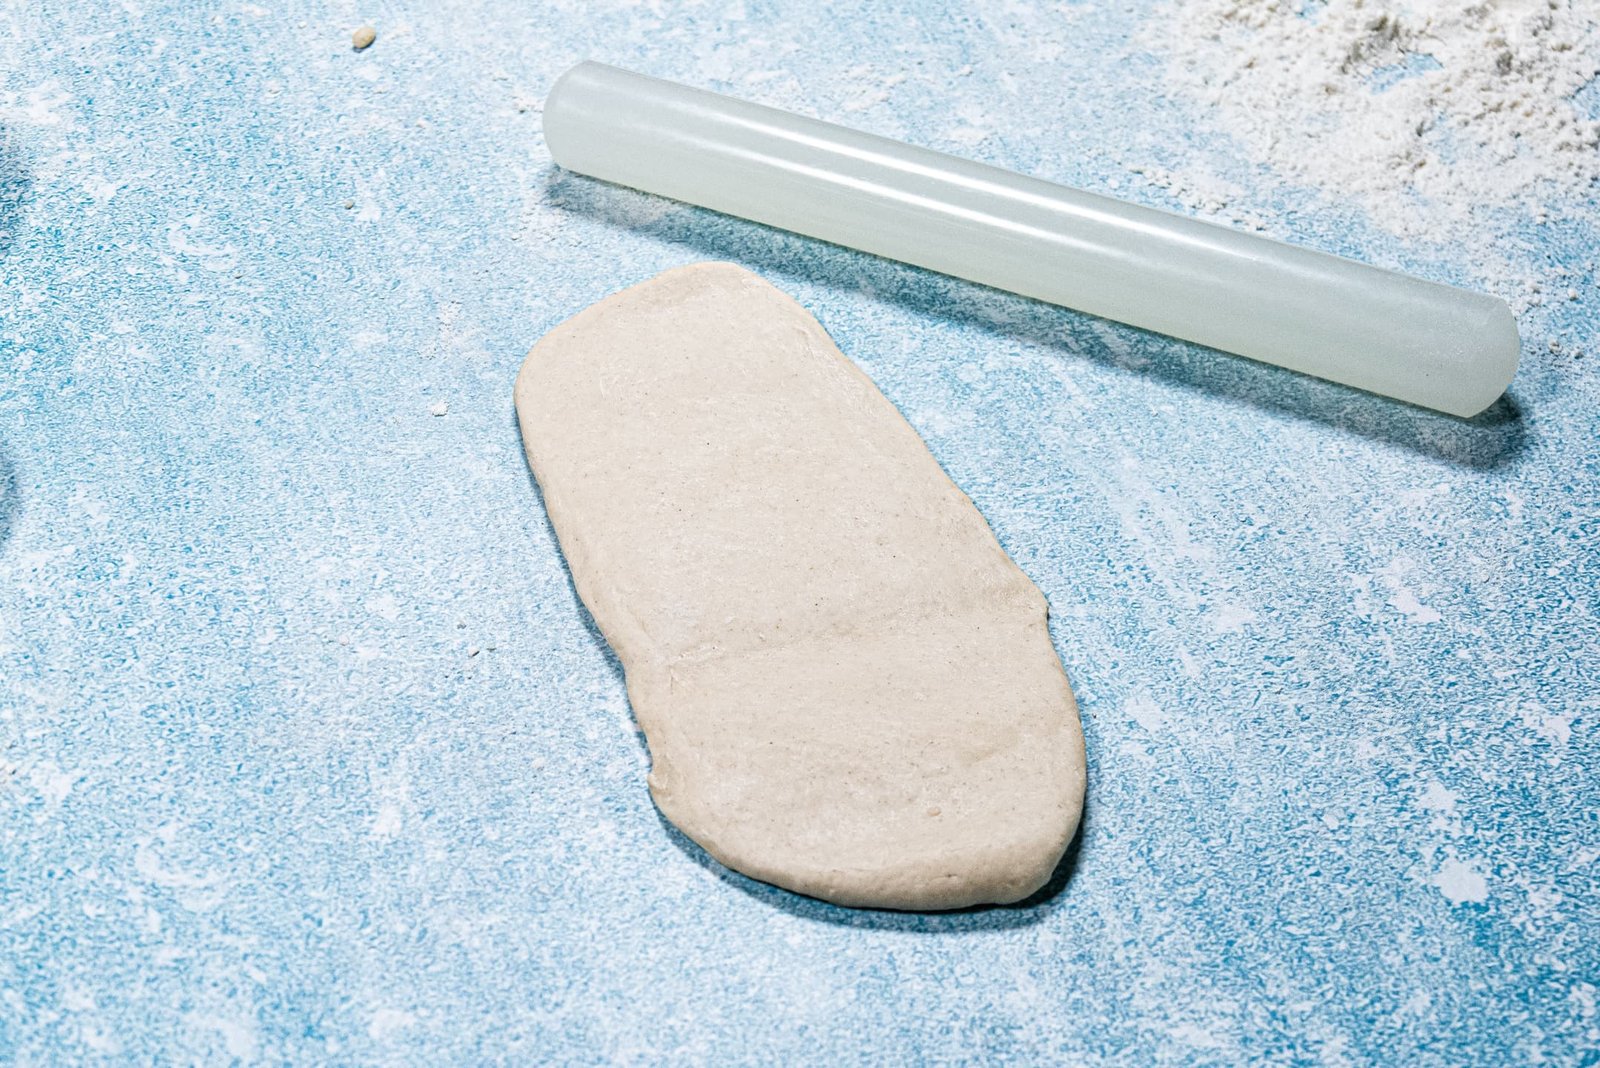
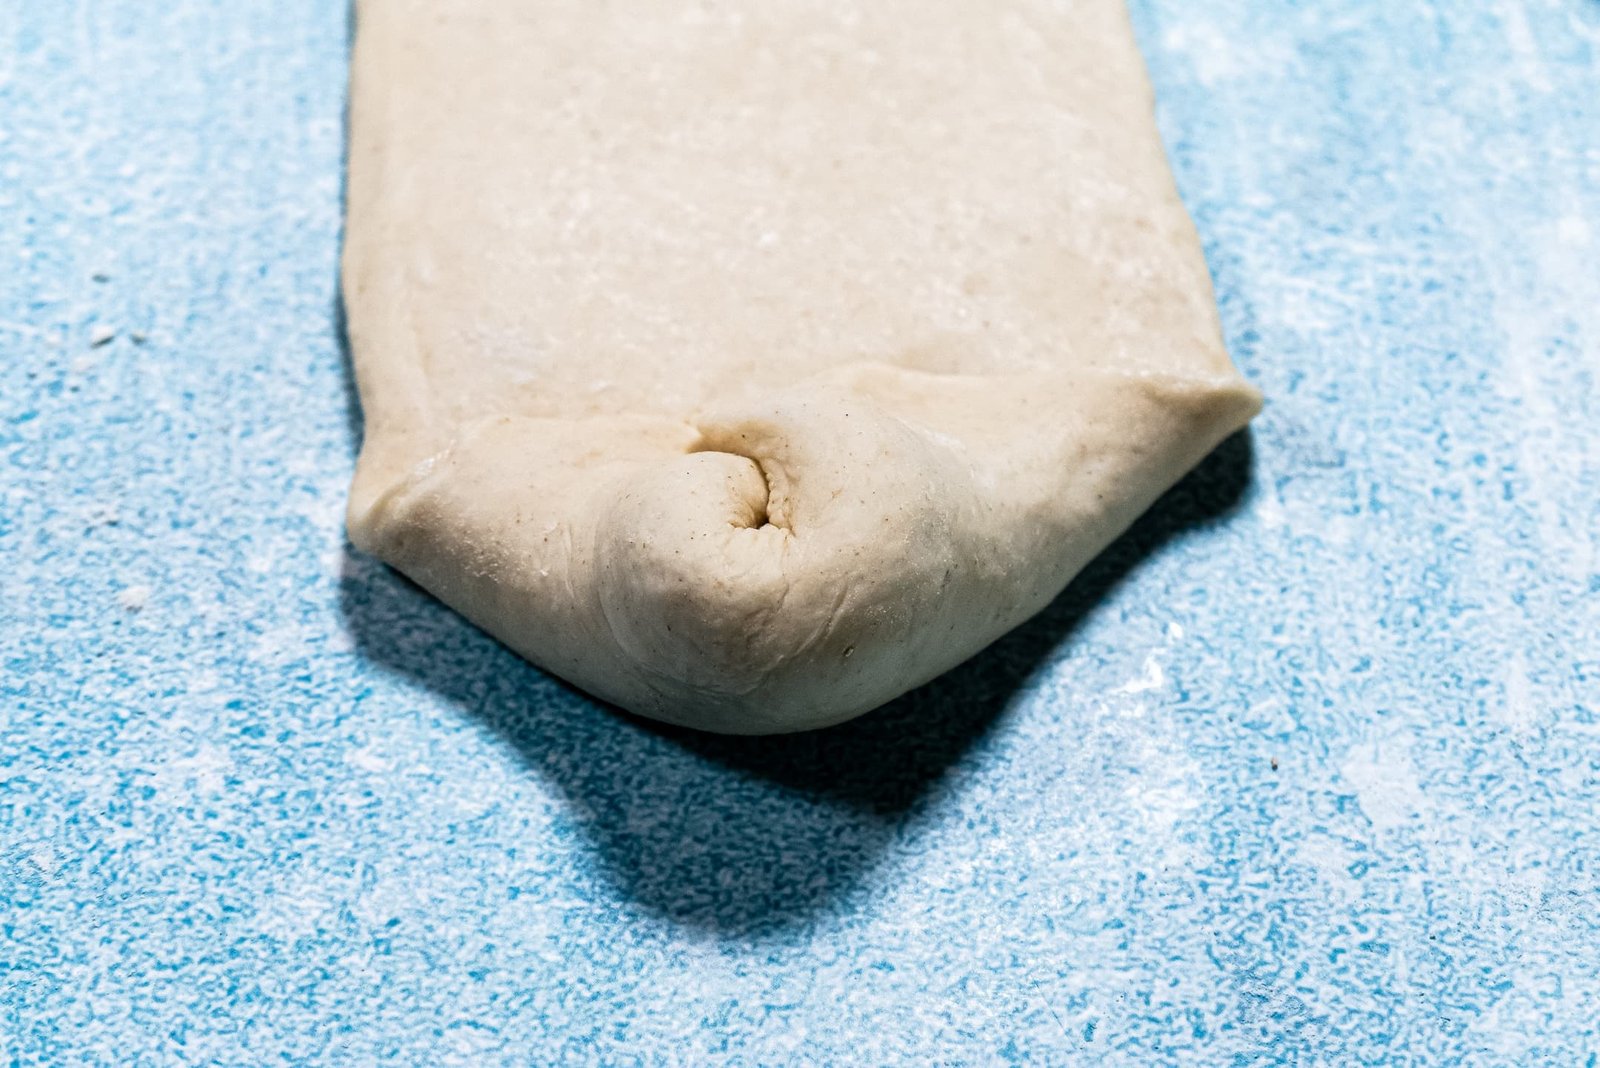
- Using a rolling pin, flatten each portion into a long rectangular shape.

- Fold the bottom edge of the dough upward and press gently with your fingers.

- Fold the left and right edges inward, then fold the bottom edge upward again.

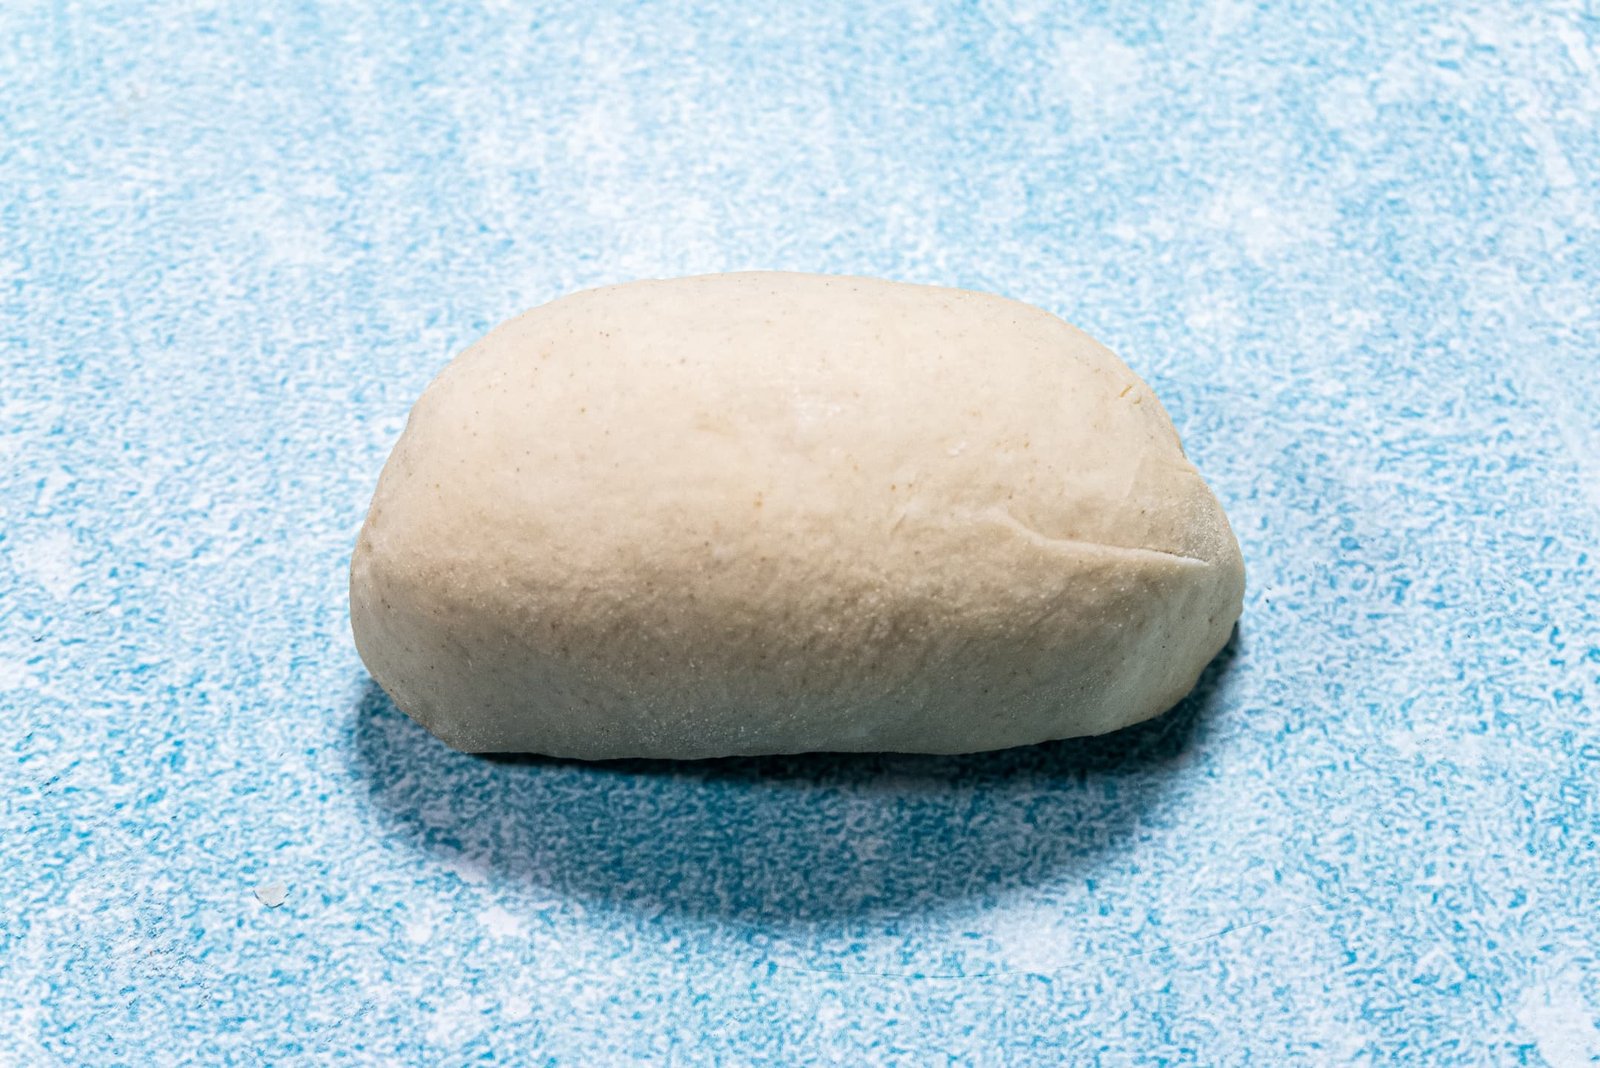
- Repeat the folding process until you have a neat bun. Pinch the bottom seam tightly to seal the bun and maintain its shape.

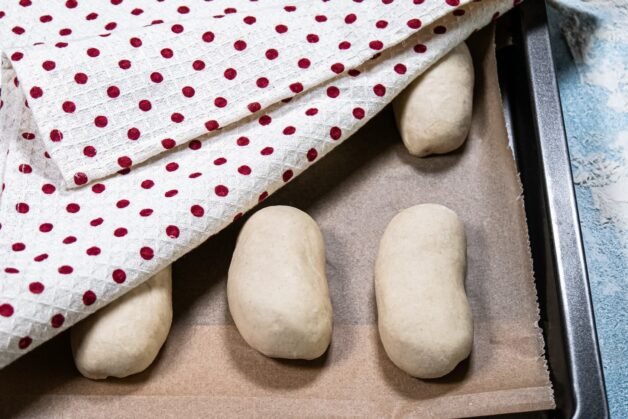
- Arrange the shaped buns on a baking sheet lined with parchment paper. Cover them with a towel and let them rise for another 45 minutes to 1 hour.
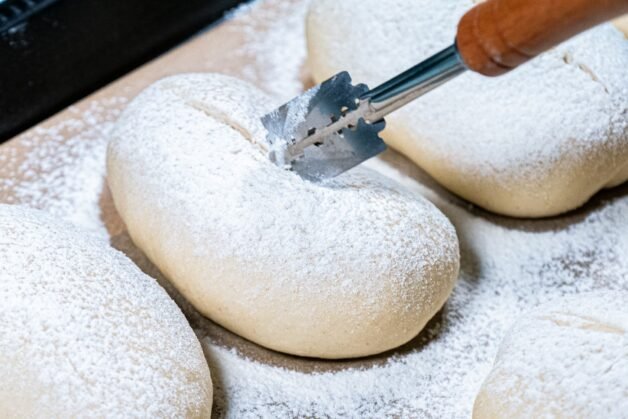
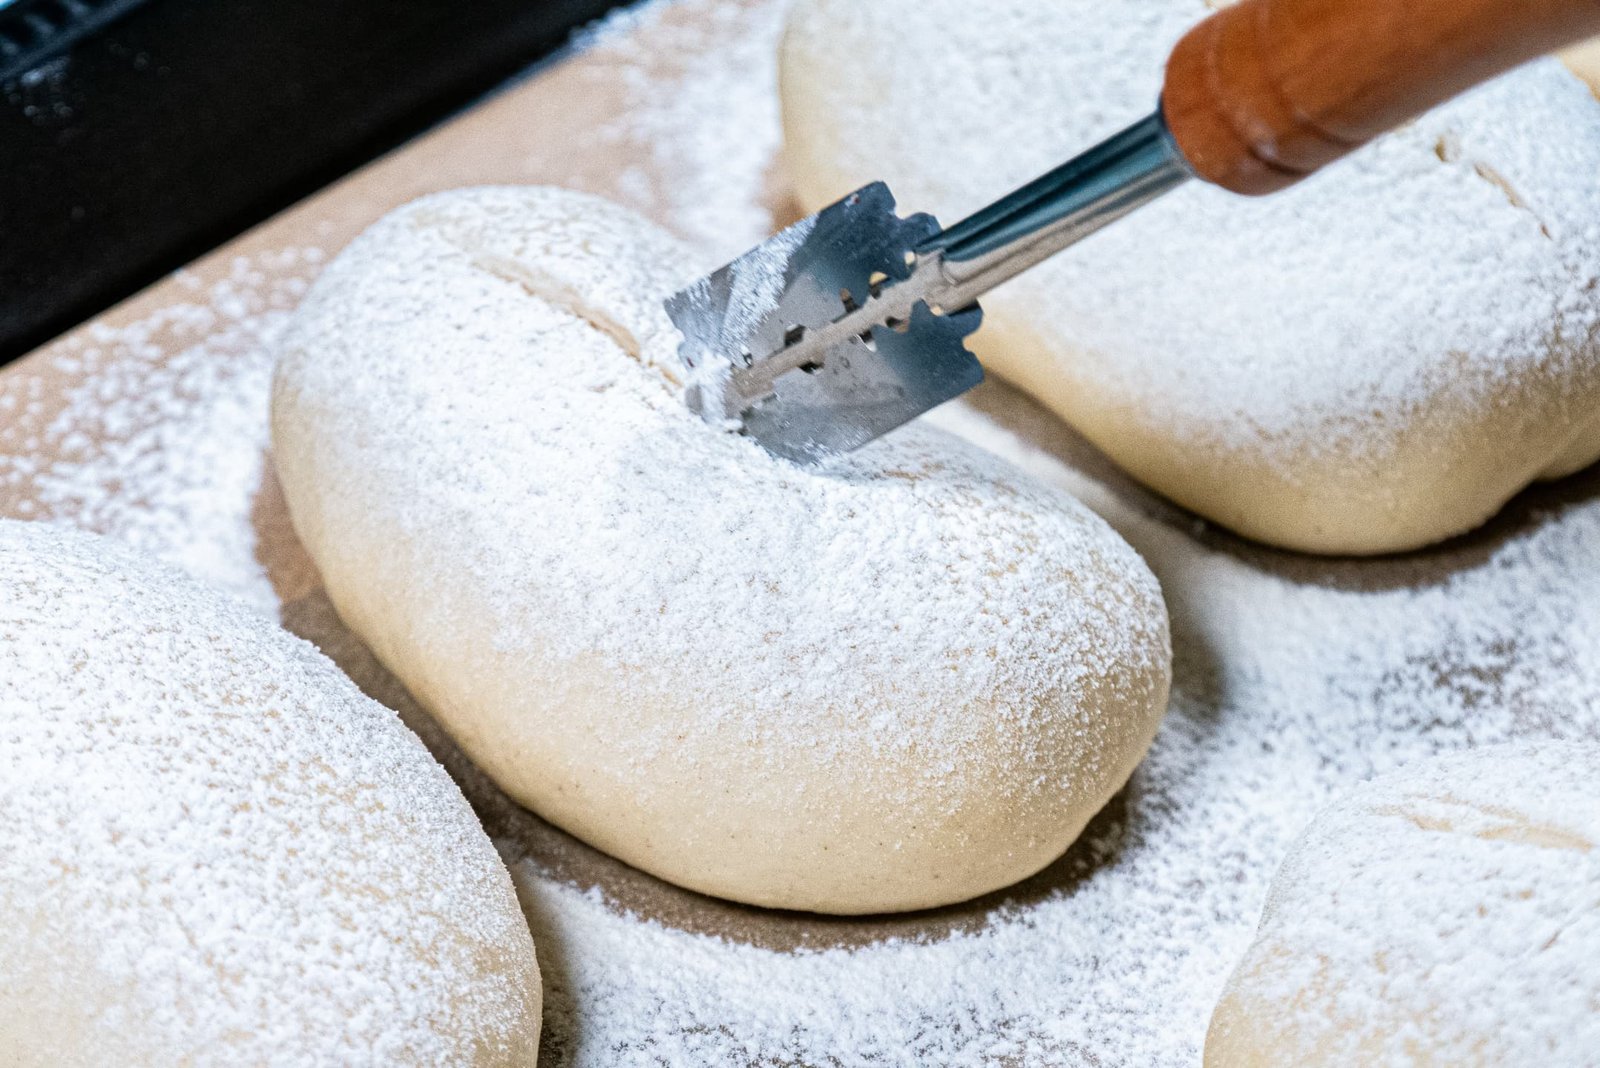
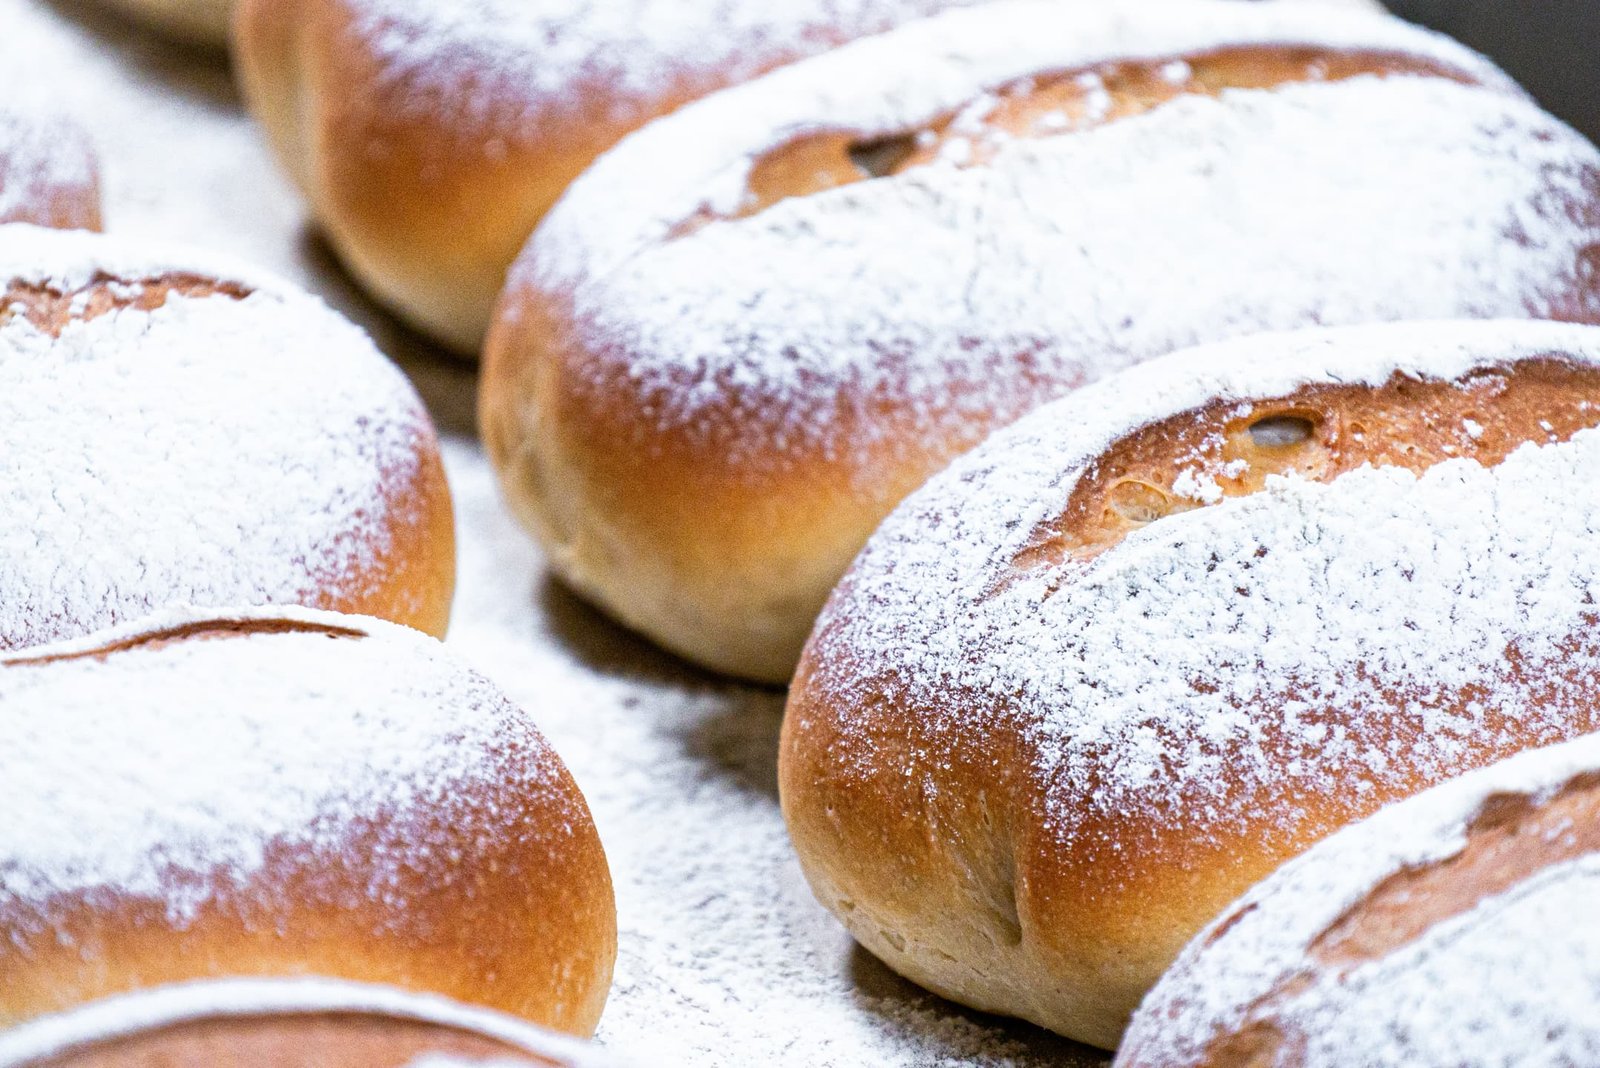
- Preheat your oven to 350°F (180°C). Lightly dust the buns with flour and score the tops with a sharp knife or razor blade for a decorative finish.
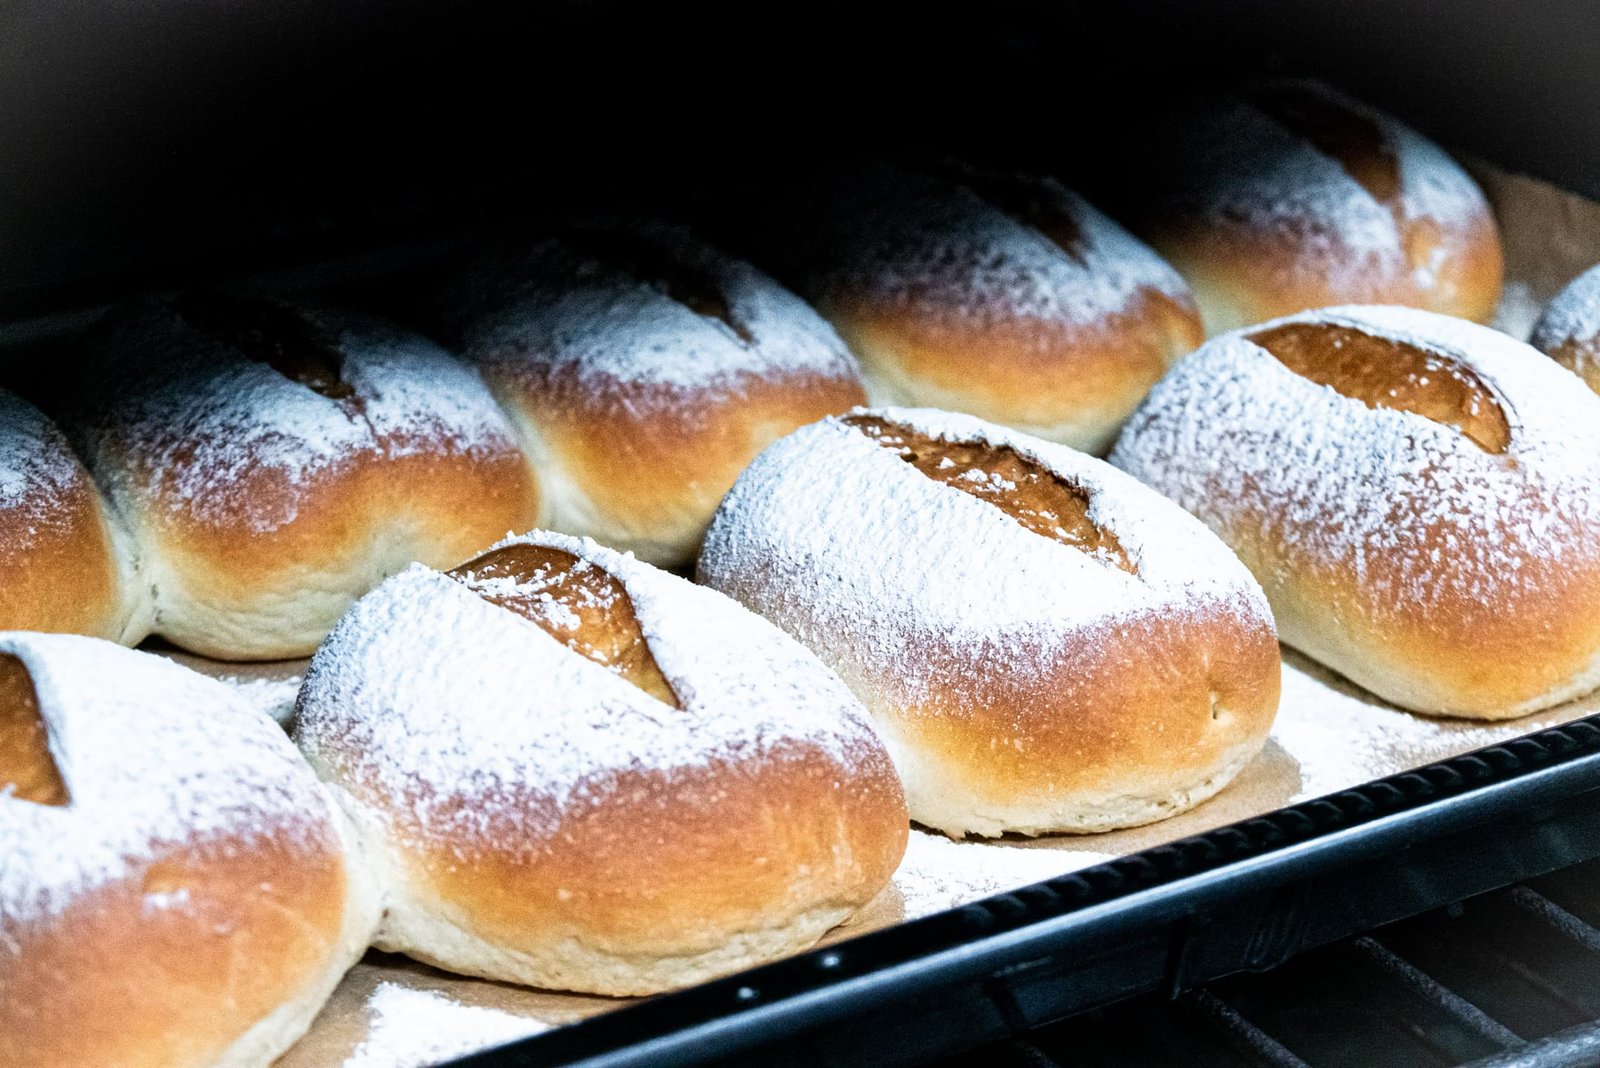
- Bake the buns for 20-25 minutes, or until they turn golden brown and fill your kitchen with a delicious aroma.

- After baking, cover the buns with a kitchen towel for a softer crust, or leave them uncovered for a crispier texture. Serve warm or at room temperature with butter, jam, or cream cheese. Enjoy!


Our notes
Hydration Tip: Precise measurements for flour, yogurt, and milk are crucial to ensure the dough’s proper hydration and texture. You can use a kitchen scale if possible.
Proofing Environment: For best results, let the dough rise in a warm place (about 75–80°F / 24–27°C). If your kitchen is cold, preheat your oven to 100°F (38°C), turn it off, and let the dough rise inside.